Wednesday, February 15, 2012

D.I.M. (Did It Myself) Light Table!!!

I was so inspired by Deborah's Teach Preschool post about light tables this week (why link it? You already saw it all over the blogosphere and Pinterest, right??? NOT linking is me tipping my hat to you, Deborah!!!*), and ever since, I've had light tables on the brain.  I got into one of my stubborn moods and drove to Home Depot to buy some supplies.  Stubborn comes into play here because I have no carpentry skills but insist on taking on these building projects.  Turned out pretty good, though, wouldn't you agree?


Was I blessed with a miraculous yet fleeting spell of carpentry expertise? No, no, no.  I just figured out a way to make it a very easy, low-risk process.


And it all cost me under $50.


I will try to give you the best DIY instructions possible, just in case you are a not-so-handy person like me.


Start with an already measured shelf set. The front of it should be the size that you want the top of your table to be. I used this:


Assemble the above shelving unit (or one of your choosing) but put the bottom shelf on the very edge so you end up with a complete rectangular frame. 


You also need some thick polycarbonate (a.k.a. plastic!) sheeting like this (find it in the window aisle at Home Depot) that is at least large enough to fit over the front (ie. top) of the frame:

I chose a .93 gauge so it was thick enough not to be too flimsy.  To cut it, trace the shape of the frame and then, using a straight edge, take a razor over one of the lines a few times until you have a nice groove.  Now line up the plastic on the edge of a table and snap the unwanted piece off. Do this to adjust the length and width of your plastic. Your plastic top should fit your frame so all edges are flush.


Next, you'll put a piece of 1"x1" pine (or other cheap wood) in your plastic to hold the plastic in place:


Cut the wood (hand saw comes in handy here) so that it just fits the inside edges of two parallel sides of your frame.  The shorter it is than the inner edge, the more your table top will slide around, so try to make it pretty precise and err on the side of "tight".  


Put the plastic on top of your frame, and mark where you'd like to attach the wood and the plastic. You'll need four short screws or nails.  With a drill bit, drill holes (slowly!) through the plastic:


Once you have your holes, fasten the wood to the plastic table top. Don't try to screw or nail right into the plastic--it will crack!!! 


Now your plastic will fit, wood side down, into your table:


See how the wood fits right in? Nice.

There's your blogger friend, Stephanie:

Oops, are your corners too sharp? Just snap off little pieces with the razor until they aren't too sharp. We don't want the kids cutting themselves on your state-of-the-art light table, right?

You'll need a hole on the bottom of the back side of your table so your electrical components can inconspicuously exit the light table.  Drill one or  two holes in the back (I used a spade bit).

Lastly, I painted the inside white on the sides that weren't already so I'd have maximum reflective power.

You'll need a shop light or other lamp that will fit into the light table:

We started out with some colored lights: 

But since we don't want to see the lamps, I used wax paper (and later changed to parchment paper), taped well, to turn the top from transparent to translucent.  This will be something I need to problem solve later on. Don't they make some spray paint that makes clear glass look smokey? I wonder if that would work.

Total time, including the Home Depot trip: 3 hours!!!


Since I think I've used up my photo quota for one post, I'll post more photos in a separate post.


*Here's that Teach Preschool light table link, in the off chance you didn't see it!


I linked up at:
Playing With Words 365
and

Tuesday, February 14, 2012

Overflowing with joy...(and mail)

We had thirteen beautifully decorated Valentine's Day mailboxes all lined up on the shelf tops, ready to receive valentines from friends.  

They were so full that they began to overflow. It was quite a debacle. The kids kept trying to figure out which fallen card, note, lollipop, or bag belonged to which mailbox. 


There was stuff falling all over the place, so much so that we had to move a shelf to fish out valentines from behind furniture.  I thought, "Hm, maybe next year we should have bigger mailboxes".  We thought of a temporary solution, which was to turn the mailboxes up on their sides like so:


Gravity was now on our side.


But what a fortunate problem to have.  Mailboxes literally overflowing with the best physical manifestation of love that the children and their parents could conjure up for this holiday.  A beautiful problem indeed. My husband and I call these "quality" problems.
It's like the tangible version of one of our favorite love songs, "Love is Something":

Love is something if you give it away,
give it away,
give it away,
Love is something if you give it away, 
you end up having more.
Love's just like a magic penny, 
Save it up and you won't have any,
Lend it spend it you'll have so many, 
Falling all over the floor!!!

Love is something if you give it away!


We really do it up at circle time on Valentine's Day.  After a silly round of 
"Skidamarink-a-dink-a-dink, 
skida-ma-rink-a-doooooooooooooooooooooooooooooooooo" 
(yes, it's that long and that silly), 
we played an estimation game of how many hearts were in small jars, 
we sang "I'm gonna mail myself to you", 
"There's a little wheel turning in my heart", 
and we ended with a voluntary game of Valentine Bingo, 
courtesy of my friend Kristin over at Preschool Daze.


It was fun to yell "Bingo" in unison!

Thank you, Kristin!

Happy Valentines Day, 
dear readers.

Love,
Stephanie

Monday, February 13, 2012

Hot Glue Resist - Get Your Paint On!


What you'll need:
Hot glue gun and lots of extra glue sticks
Card stock or water color paper
Liquid water colors (if using Colorations, barely water it down, maybe 50/50)
Water color brushes


Step 1: Use hot glue gun to dispense a unique design


Step 2: Make sure glue is almost completely cooled (maybe one minute?)


Step 3: Get your paint on!


***Linking up at The Kids Co-Op!***

Dear Pinterest...

This post is my thank you note to Pinterest.
_________________________

This was pinned from  The Education of Ours


And here is what we introduced today:


This was pinned from Rockabye Butterfly


Here is our version, introduced today:


Here's what I pinned from Share and Remember


And here is what I made today:


___________________________________

I wonder what adventures my friend Pinterest and I will go on tomorrow...

*Stephanie*

Luminaries and other indoor "loose parts"

Over the last couple of weeks, I have seen a surge in children's use of our classroom's loose parts.  I wanted to share some of what we have in our classroom. "Children can learn literacy, science, and mathematics joyfully through active play with diverse, open-ended materials." Loose parts offer a creative process that is the perfect venue for children to discover aesthetics, representation, create stories and explanations,  experience balance, explore patterns, and discover their own sense of self through the expression of their own interests and inspirations (among other things!).

I always think of outdoor stuff when I think of "loose parts".  Loose parts, to me, are any open-ended materials that can be defined by the children in their play.  Loose parts in our outdoor environment include plywood, tubing, tires, sticks, stones, pine cones, bottles and buckets, ropes, scrap wood, pool noodles.

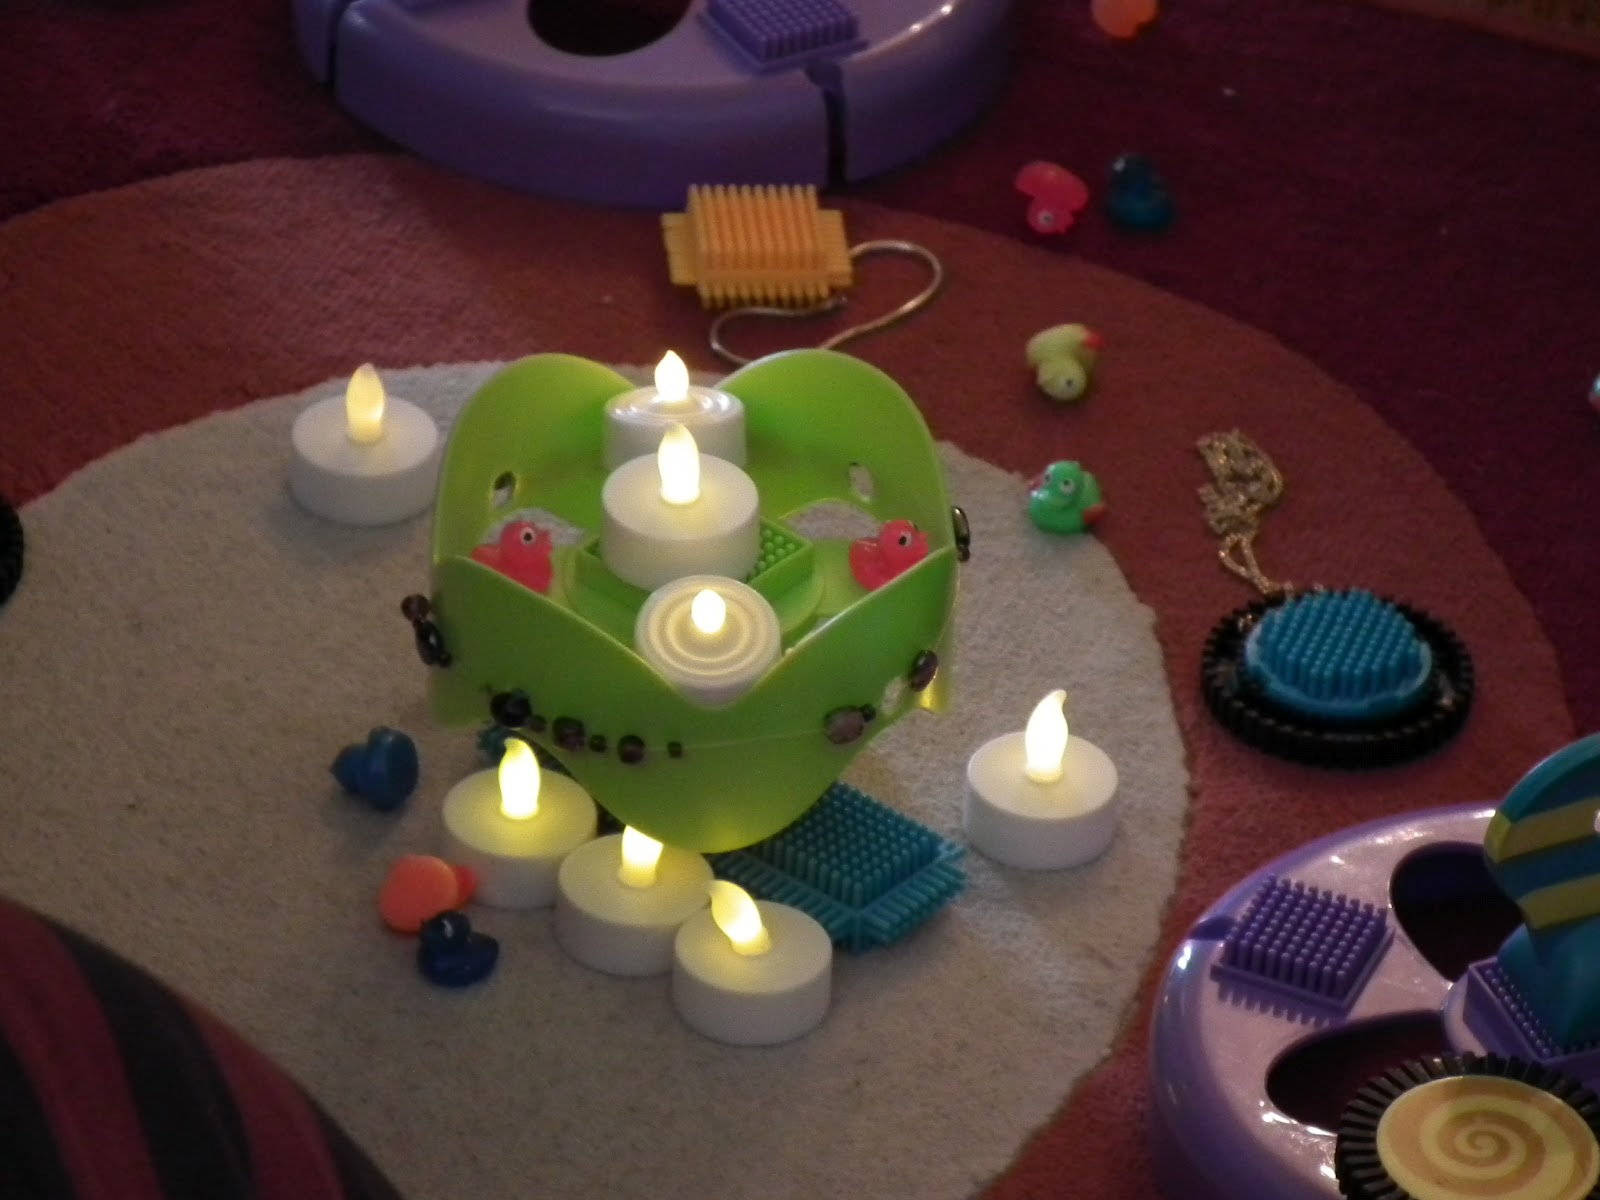
Indoors, we try to include some loose parts as well.  Luminaries, dried oranges, pine cones, sticks, rocks, scarves.  Luminaries might be my most favorite-ist indoor material. Candle light brings a sense of calm and serenity and centeredness. I've used real candles at circle time before (for holidays, birthdays, and just because).


Here are some other loose parts in the classroom:

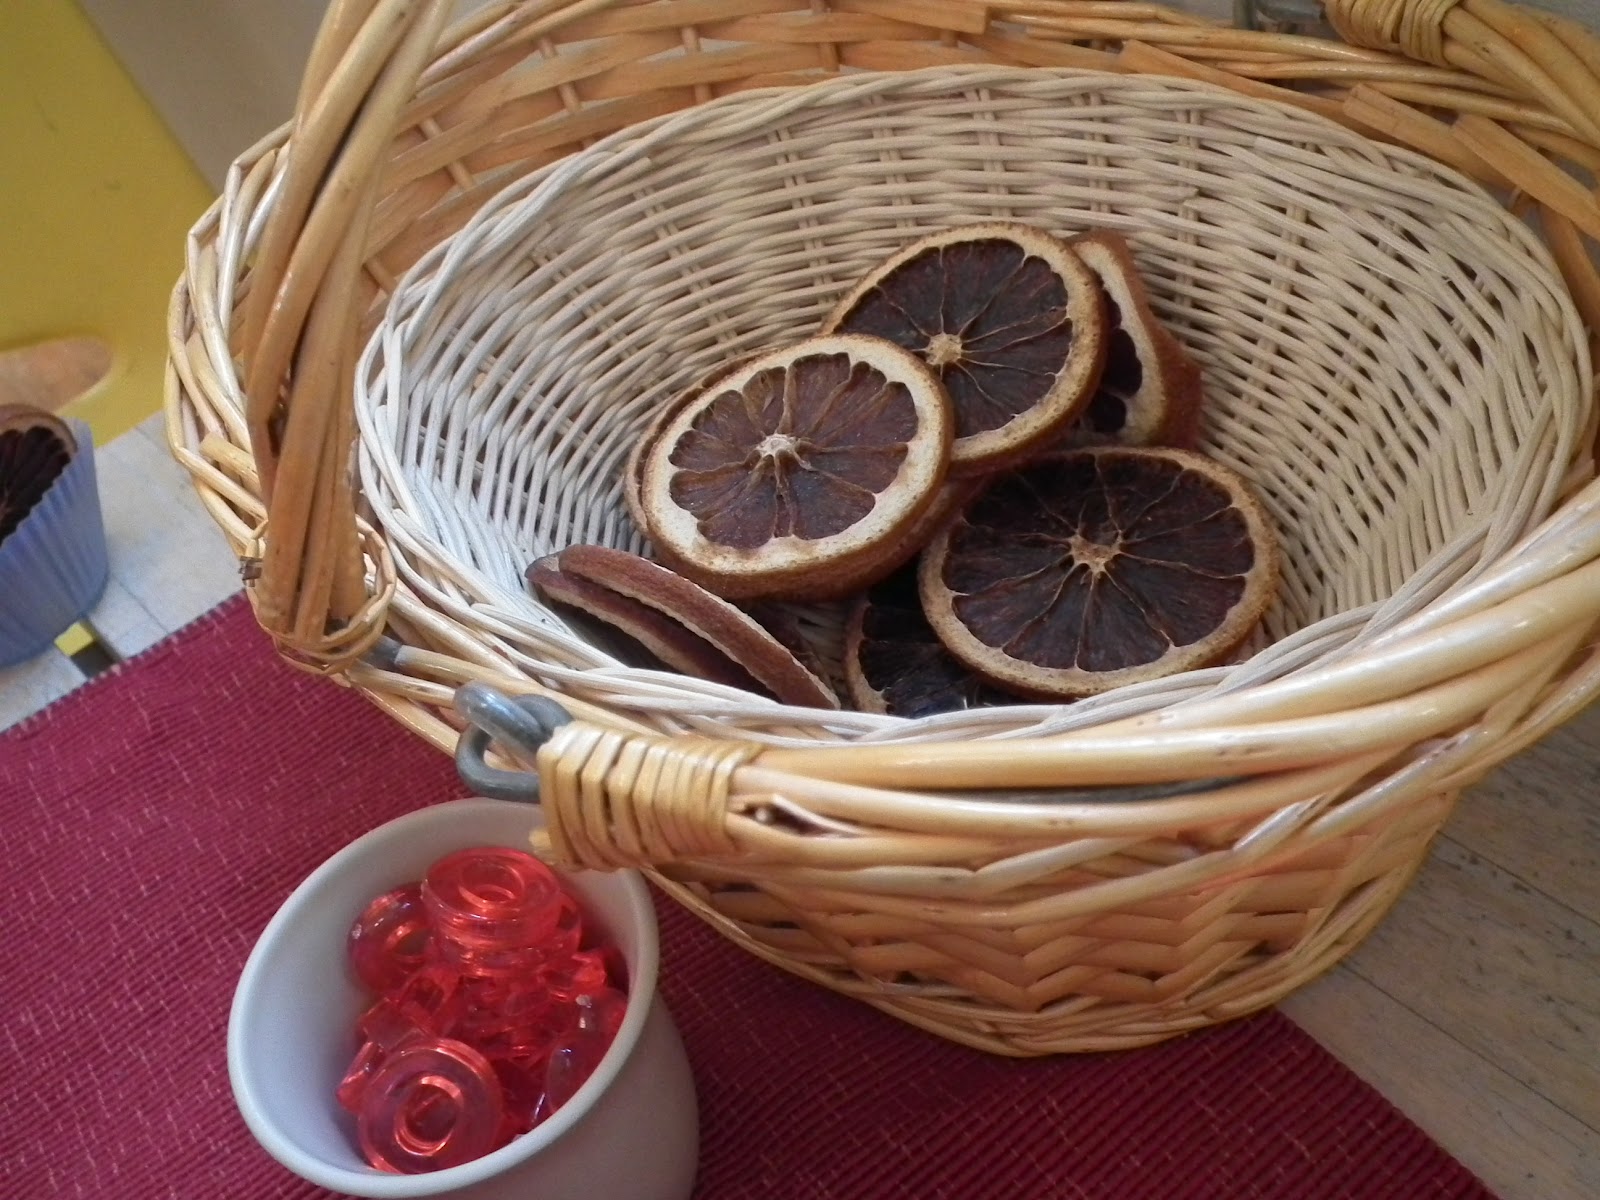
dried oranges in baskets

silicon muffin cups

felted stones, felt shapes, and empty drawers from jewelry boxes (all on a home-dyed scarf)

We have an entire shelf of natural items for use by the children: pine cones and pine cone animals, felted stones, gourds, dried magnolia buds, dried oranges, felted people and shapes, sticks, and rocks.  For a couple of weeks after setting up this shelf, I thought it was sort of a waste of space because the materials on it literally went untouched. However, one day, seemingly all of the children discovered how to use these completely open-ended materials in their play, and from that day forward, these items have been a staple in the children's dramatic play.

Wrestling is good for children.

Originally published Sept 2010 Many of our parents seemed shocked when they came to pick up their children from Beansprouts and found the...